How Leak Detection Works: Acoustic & Thermal Methods
See how acoustic listening and thermal imaging pinpoint hidden leaks without hacking your walls or floor.
We often see property managers and homeowners panic when water stains appear, assuming a massive demolition project is imminent. Finding a concealed pipe leak used to mean guessing and hacking away at your walls. That old approach is a massive waste of money and time.
Our modern non-destructive leak detection methods completely skip this expensive guesswork. Instead of tearing up a Puchong apartment block to find a damp spot, professionals now rely on highly sensitive diagnostic tools. The real value of these technologies is how they turn invisible data into a precise target area.
We will break down the science behind acoustic and thermal detection, what the data actually tells us, and how these systems combine to save your floors.
Acoustic Leak Detection
Water escaping through a pinhole or crack under pressure creates a very distinctive sound frequency. Even when the room is dead silent to human ears, highly sensitive acoustic leak detection equipment picks up the vibration clearly.
Our typical domestic water supply from Air Selangor operates at a pressure of around 2.0 to 4.0 bar in most residential areas. This continuous pressure forces water out of cracked pipes, generating a high-frequency hiss that travels along the plumbing line.
The strength of this acoustic signal is exactly what allows us to locate the problem.
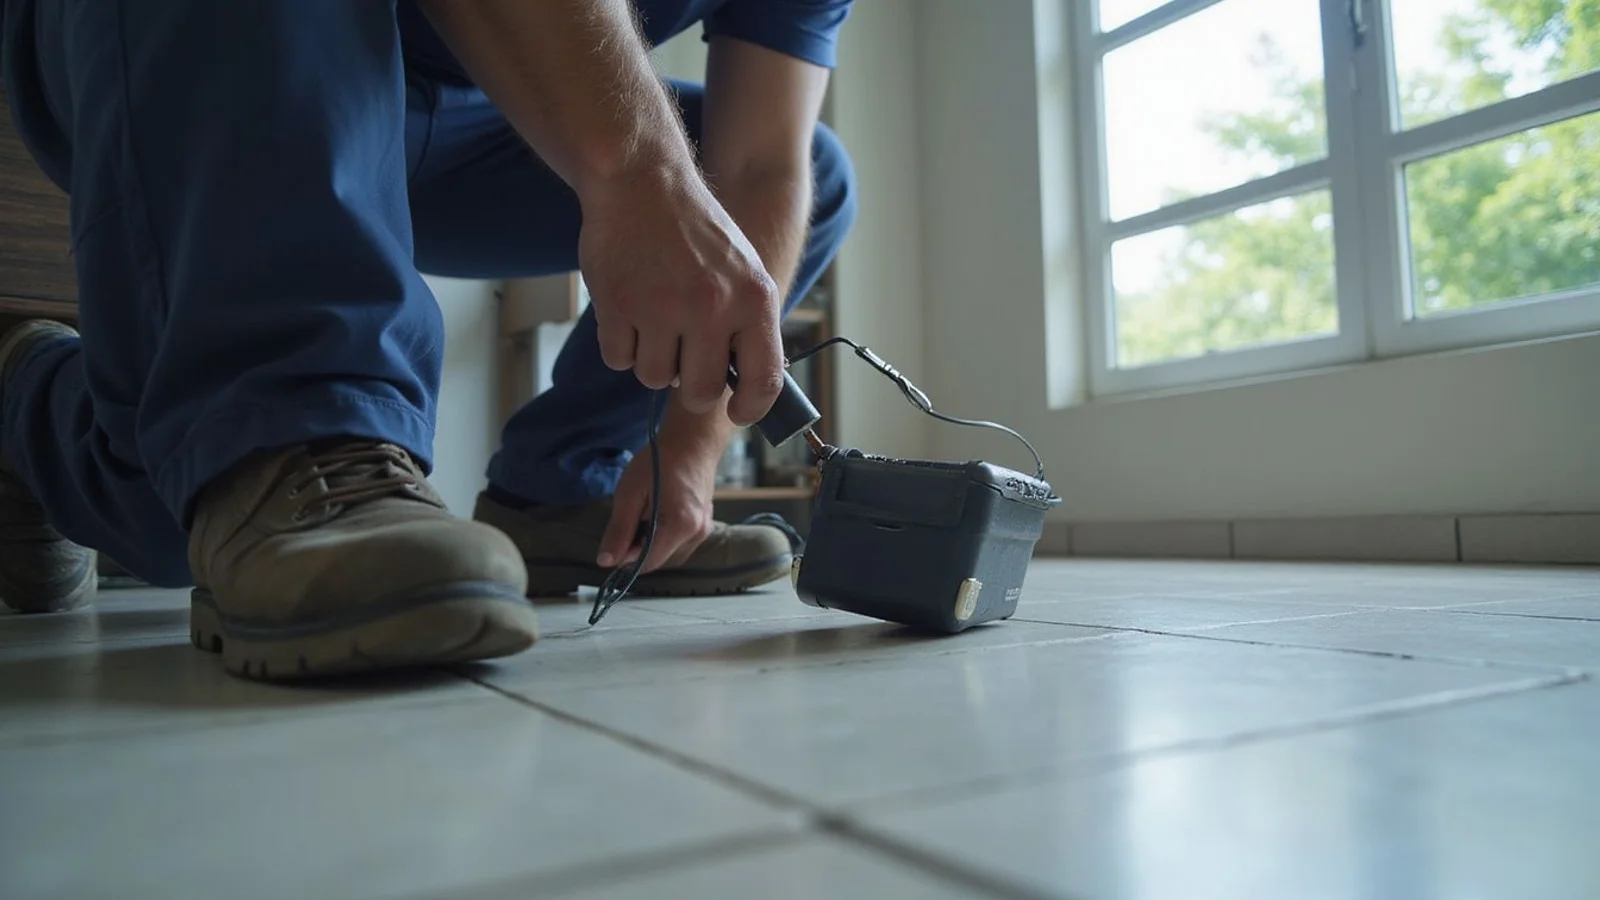
What the Equipment Does
An acoustic leak detector uses a highly calibrated microphone to capture underground noise. Professionals often deploy a ground microphone for floor leaks or a contact probe for walls, connecting them to powerful amplification headphones.
We routinely use industry-leading tools like the SebaKMT HL7000 or Trotec LD8 for these inspections. These advanced devices feature Bluetooth capability and 360-degree sensor detection to isolate specific noise frequencies. High-end sensors easily differentiate the low rumble of a PVC pipe leak from the sharp hiss of a copper line rupture.
Moving the sensor along the suspected pipe route lets the technician listen for the signature sound of rushing water. Our teams use this method to narrow down a pressurised supply line leak from a general area to a precise 20 to 30 cm patch under tile or concrete.
Limitations
Acoustic detection relies entirely on pressurised systems to generate readable noise. It struggles significantly with several common household plumbing issues.
We often encounter situations where acoustic tools alone are not enough.
- Drainage leaks: Waste pipes have zero internal pressure, meaning the escaping water creates no audible sound.
- Very small leaks: Minor drips lack the force needed to produce a clear acoustic signature.
- High ambient noise: Heavy daytime traffic in busy areas like Puchong can mask the faint sound of a leak.
- Thick concrete coverage: Dense commercial foundations absorb sound waves, reducing the microphone signal.
This reality is why scheduling acoustic tests during quiet night hours often yields better results. Our next step in complex cases is to combine audio data with visual temperature scanning.
Thermal Imaging
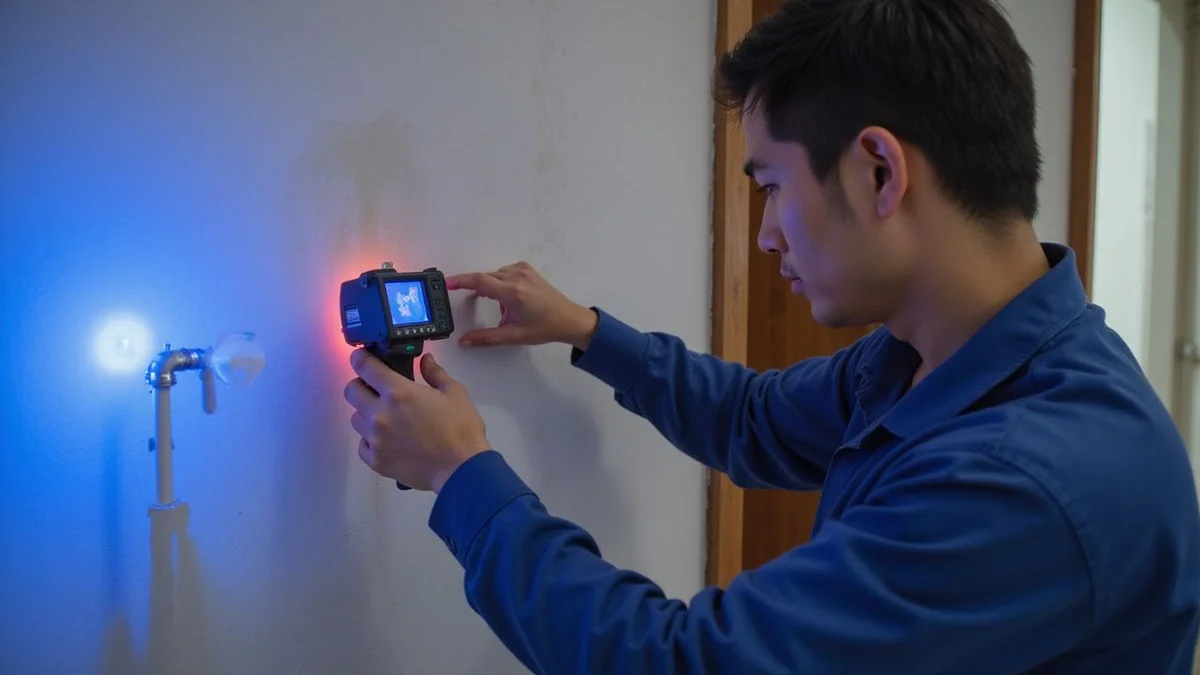
A professional thermal imaging camera reveals surface temperature differences completely invisible to the naked eye. A hot-water leak naturally warms the surface above it, while a cold-water leak cools the surrounding area through evaporation.
We rely on high-resolution cameras like the FLIR E85 or FLIR C5 to capture these subtle shifts. These specific models detect minute temperature variations down to 0.03 degrees Celsius, which is 30 millikelvin. This extreme thermal sensitivity makes thermal leak detection critical for identifying moisture trapped behind thick structural walls.
The visual evidence provided by infrared technology helps property owners understand the exact scale of the water damage.
What You See
Pointing the camera at a wall or floor generates a real-time heat map of the affected area. A hidden leak appears as a distinctly warmer or cooler patch following the linear path of the concealed pipe.
We can also track how far the moisture has spread into the surrounding building materials. Damp concrete or drywall cools at a completely different rate than dry sections, creating a dark, irregular blob on the camera screen.
This clear contrast gives you a visual boundary of the saturation zone.
When It Works Best
Thermal cameras perform exceptionally well under specific structural conditions.
Our technicians prioritise infrared scanning for the following scenarios.
- Hot-water leaks: These create a massive, unmistakable thermal signal on the camera display.
- Cold-water leaks at high flow: Rapid moisture evaporation pulls heat from the floor, generating a distinct cool patch.
- Slab leaks: Subterranean pipes actively warm or cool the ceramic tile sitting directly above them.
- Wall-cavity leaks: Trapped moisture cools the external wall surface as it seeps downward.
When It’s Limited
Infrared technology is incredibly powerful, but it is not a magic x-ray machine.
We must account for environmental factors that can distort the thermal readings.
- Low-flow leaks: Minor drips in cold-water lines often produce a thermal signal too weak to register clearly.
- Deep concrete: Slabs thicker than four inches easily mask the tiny temperature differences created by small leaks.
- Environmental interference: Running an air conditioner or scanning right after a heavy rainstorm severely muddles surface temperatures.
- Reflective surfaces: Glossy tiles and mirrors reflect ambient room heat, tricking the infrared sensor.
These limitations prove why depending on a single diagnostic tool is risky.
Method Comparison Overview
Understanding the strengths of each tool highlights why professionals use them together.
We developed this quick reference guide to show how acoustic and thermal methods handle different challenges.
| Feature | Acoustic Detection | Thermal Imaging |
|---|---|---|
| Primary Trigger | Water pressure creating sound | Temperature differences |
| Best For | Pressurised supply lines | Hot water leaks and damp tracking |
| Major Weakness | Loud ambient background noise | Thick concrete and low flow |
| Accuracy Range | Pinpoints within 20 to 30 cm | Shows overall moisture spread |
Water-Meter Testing
Checking the main supply dial is the simplest diagnostic step, confirming a leak actually exists before anyone spends hours tracing it. An Air Selangor water meter provides hard proof of an active plumbing issue.
Pro Tip: A smart habit for property owners is taking a photo of the meter dial before leaving for work and comparing it upon return. If the numbers moved while the house was empty, there is definitely a leak.
We always begin a site visit by turning off every single fixture, water heater, and pump in the house. Any rotation on the meter dial while the building is completely shut down indicates a continuous water flow.
A spinning indicator is the literal definition of a supply leak.
Isolation and Verification
A basic meter check confirms the presence of a leak, but it does not tell you where the water is going.
Our testing protocol combines the meter observation with strategic zone isolation. Closing specific isolation valves narrows down the search grid significantly.
This sequential shut-off test confirms whether the property suffers from a hot-water leak, a cold-water line break, an underground yard issue, or simply a running toilet fixture.
How We Combine the Methods
Relying on just one tool often leads to misdiagnosis and unnecessary property damage. A comprehensive leak inspection requires a layered approach to verify the data.
We execute a strict operational sequence to ensure maximum accuracy.
- Confirm with meter test: Verify there is continuous flow happening somewhere on the property.
- Isolate zones: Close valves to narrow down which specific plumbing section is losing water.
- Thermal scan: Use the FLIR camera to spot any obvious warm plumes or cool evaporation patches.
- Acoustic scan: Run the ground microphone along the suspected pipe route to pinpoint the exact sound source.
- Mark the location: Outline the target area and clearly explain the technical findings to the owner.
- Plan the repair: Design a targeted fix that requires absolute minimum hacking.
For slab leak suspicions, this combined diagnostic process is exactly what saves you from ripping up an entire bathroom floor. Layering the data from the water meter, the thermal camera, and the acoustic microphone provides an undeniable target.
Our integrated approach guarantees a faster, cleaner resolution for your property.
To book a comprehensive structural assessment, see our dedicated leak detection service page.
Related Service
Pipe Repair & Leak Detection
We find and fix hidden leaks, burst pipes, and slab leaks using non-destructive acoustic and thermal detection.
Learn About This Service